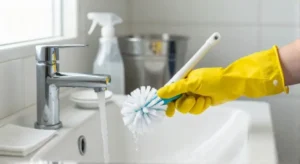
If you want a cleaner bathroom, learning how to wash toilet brush tools correctly is essential. A toilet brush removes waste from the bowl, but it also traps bacteria, mineral buildup, and cleaning product residue in its bristles. Most people rinse the brush in the toilet water and put it back in the caddy, which creates a damp, germ friendly space. A proper wash takes a few extra minutes and makes your whole bathroom more hygienic.
The good news is that washing a toilet brush does not require expensive products. You can use household disinfectants, hot water, and a basic bucket. The key is drying the brush fully before storage. In this guide, you will learn a simple step by step process, how to clean the holder, and how often to repeat the routine.
You will also find answers to common questions about bleach, silicone brushes, and odor control. With regular care, a toilet brush can last many months without becoming a hidden source of bathroom bacteria.
Electric Spin Scrubber with Long Handle
Check PriceWhy Cleaning Your Toilet Brush Matters
A toilet brush handles one of the dirtiest jobs in your home. After cleaning a toilet bowl, the bristles can hold millions of bacteria, including E. coli and Salmonella. If the brush stays wet inside a closed caddy, those germs multiply quickly. The next time you use the brush, you may be spreading bacteria instead of removing them.
According to CDC home cleaning guidance, cleaning tools should be sanitized regularly to prevent cross contamination. This includes mops, sponges, and toilet brushes. A dirty brush can reintroduce germs to the bowl, the outside of the toilet, and even your hands.
There is also an odor issue. Standing water and waste in the caddy create a sour smell that spreads through the bathroom. Washing the brush and caddy together removes the source of that smell. A fresh brush also makes your toilet cleaning routine more pleasant and effective.
What You Need to Wash a Toilet Brush
TUYU Electric Spin Scrubber
Check PriceYou probably already have everything you need. Choose a disinfectant that matches your brush material and your comfort level. Bleach is a strong option for white plastic and nylon brushes, while vinegar and hydrogen peroxide work as gentler alternatives. Avoid using the kitchen sink because toilet brush germs can contaminate food prep surfaces.
- Rubber or nitrile gloves to protect your hands from germs and chemicals
- A utility bucket or deep basin used only for cleaning tools
- Hot water to loosen waste and soften bristles
- Disinfectant cleaner or bleach such as 1/2 cup of bleach per gallon of water
- An old sponge or scrub brush for the handle and caddy
- A dry towel or outdoor drying spot with airflow
If you use bleach, never mix it with ammonia, vinegar, or acidic toilet bowl cleaners. The combination produces toxic chlorine gas. Work in a ventilated area and wear gloves to protect your skin. For silicone brushes, check our silicone toilet brush guide before choosing a cleaner, because some materials absorb strong scents.
Keep a dedicated bucket or basin just for cleaning bathroom tools. Label it if you share a home to prevent accidental use for laundry or mopping. A simple plastic bucket with a handle works well for soaking the brush head and carrying the solution outside to dump.
Step by Step: How to Wash a Toilet Brush
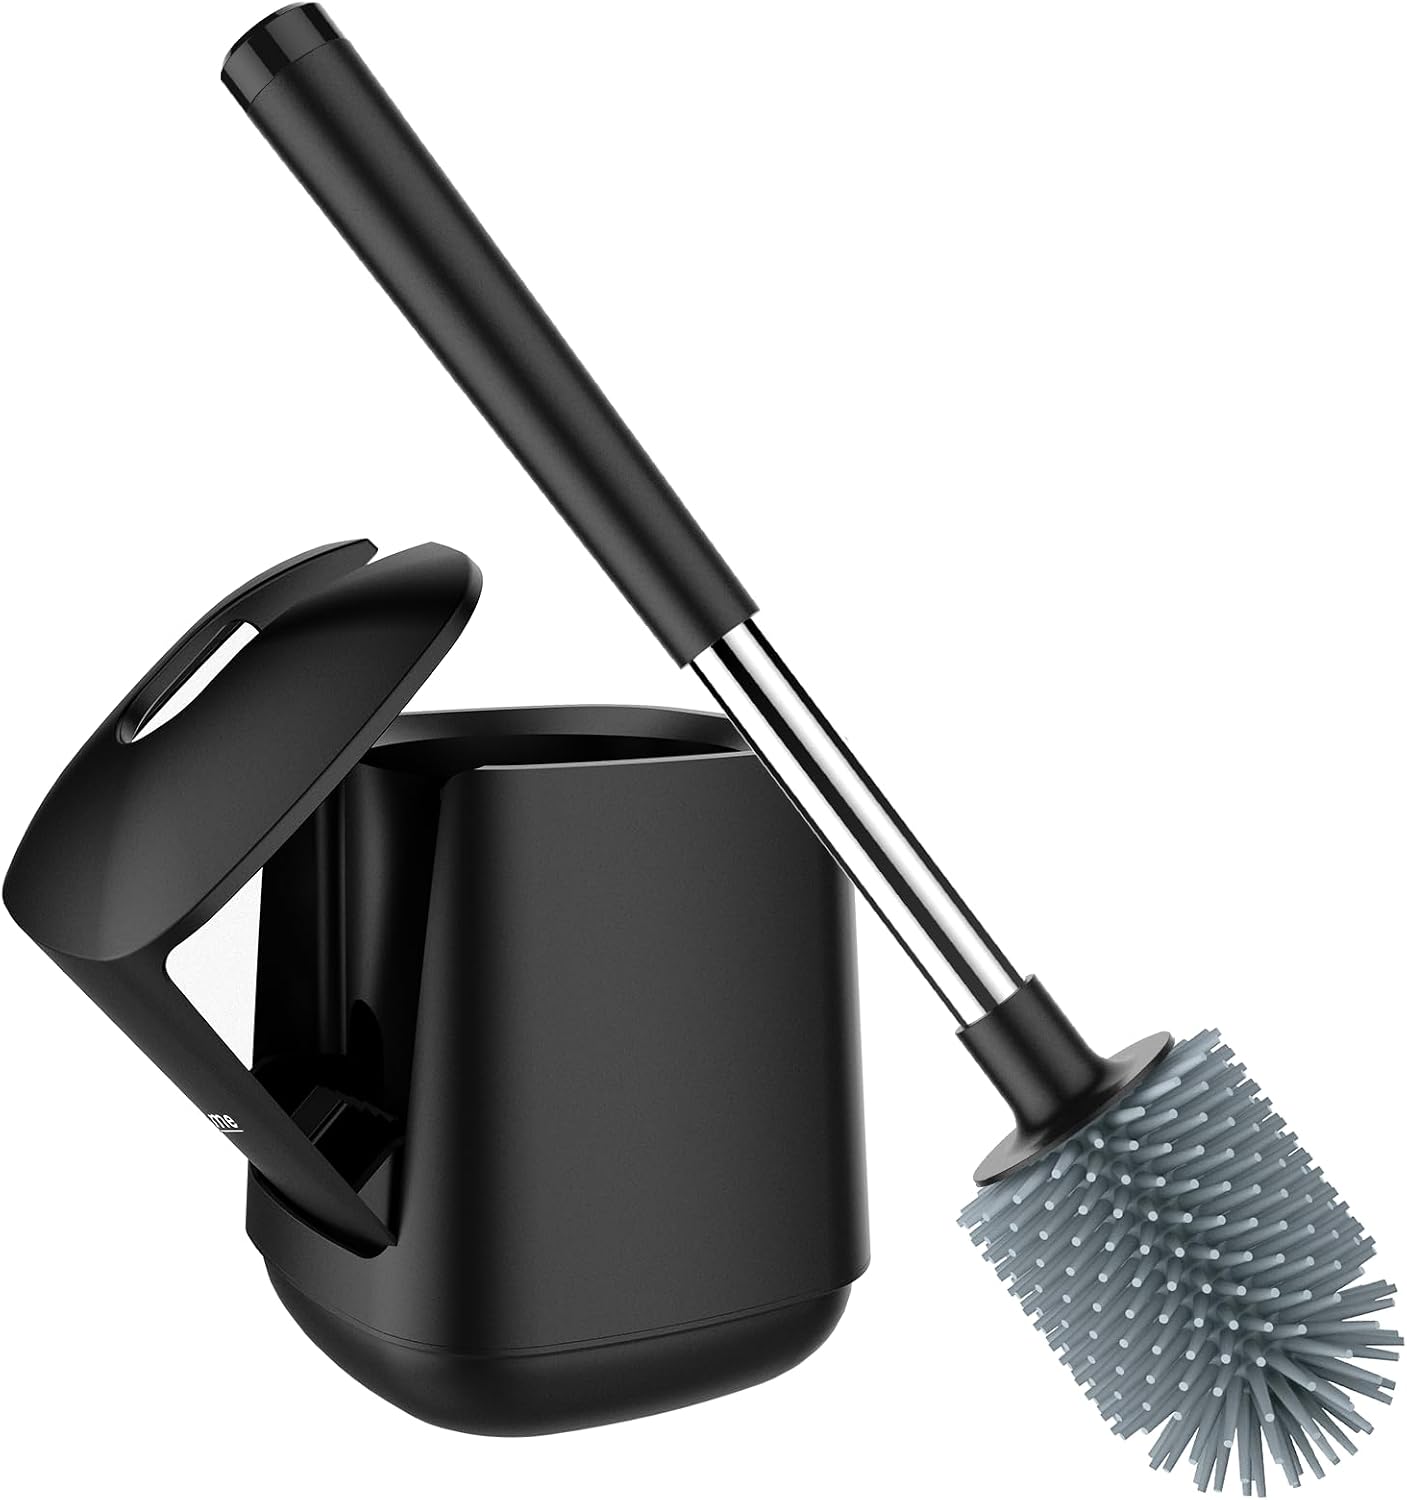
SetSail Silicone Toilet Brush is designed for users who want a modern and hygienic holder system. It is suitable for people who prefer a cleaner drying process and minimal contact with moisture. The design works well in contemporary bathrooms.
Check PriceThe best method is a simple five step process. It works for plastic, nylon, and most silicone brushes. Set aside ten minutes every two to four weeks for a deep clean, plus a quick rinse after every use.
Step 1: Pre-Rinse with Hot Water
After cleaning the toilet, hold the brush over the bowl and pour hot water over the bristles. Use a bucket or a large cup to control the water flow. This loosens waste, toilet paper fibers, and leftover cleaner before you soak the brush. Flushing the toilet while holding the brush in the bowl can also help remove large particles, but avoid letting the brush touch the seat or rim.
Do not use the bathroom sink faucet to rinse the brush. Splashing can spread bacteria onto the counter, faucet handles, and hand towels. If the brush is very soiled, repeat the hot water rinse two or three times until the water runs clearer.
Step 2: Prepare a Disinfecting Soak
Fill a utility bucket with one gallon of hot water. Add 1/2 cup of liquid chlorine bleach, or follow the dilution directions on your household disinfectant. Submerge the brush head fully and let it soak for 15 to 30 minutes. The soaking time matters because it gives the disinfectant time to kill bacteria and loosen hardened debris.
- Bleach solution: 1/2 cup bleach per gallon of hot water
- Vinegar solution: 2 cups white vinegar per gallon of hot water
- Hydrogen peroxide solution: 1/2 cup of 3% hydrogen peroxide per gallon of hot water
Do not mix these solutions. Pick one method and stick with it for each cleaning session. Vinegar is less aggressive but works well for mineral buildup from hard water. Hydrogen peroxide is a good middle option that deodorizes and disinfects without the strong chlorine smell.
Step 3: Scrub the Handle and Caddy
While the brush soaks, spray the handle and the caddy with a disinfectant cleaner. Let the cleaner sit for a few minutes to break down biofilm and soap scum. Use an old sponge or cloth to wipe the handle from top to bottom, paying attention to the joint where the handle meets the brush head.
Remove the caddy drip tray if your model has one. Wash the tray in the same disinfectant solution and scrub it with an old toothbrush. Many people forget the inside bottom of the caddy, where brown sludge collects. Wipe that area thoroughly and rinse with hot water.
Step 4: Rinse and Dry Completely
After soaking, lift the brush out of the bucket and rinse it with clean hot water. You can pour clean water over the bristles or dip the brush into a second bucket of plain water. Shake the brush over the toilet bowl to remove excess moisture. Then rest the brush horizontally across the bucket rim with the bristles pointing down.
Drying is not optional. A damp brush placed in a closed caddy will develop mold and a sour odor within a day or two. Let the brush air dry completely, which usually takes a few hours. If you need to use the bathroom during that time, place the brush in a well ventilated spot away from children and pets.
Step 5: Sanitize the Caddy Before Storage
Rinse the caddy with hot water and wipe it with a disinfectant wipe or spray. Turn the caddy upside down on a towel to let any remaining water drain out. Check for hidden moisture in the bottom corners and along the rim. Once the caddy and brush are fully dry, store the brush upright with the bristles suspended above any drip tray.
If your caddy has a lid, leave it open after cleaning until the next use. A closed lid traps moisture and creates the perfect conditions for bacteria. An open or ventilated caddy is a better long term choice.
How to Clean and Disinfect the Toilet Brush Holder
The holder is just as important as the brush. Dirty water drips from the bristles into the caddy after every use, and that water can sit for days. A complete cleaning routine includes the holder, not just the brush head.
- Empty any standing liquid from the caddy into the toilet
- Rinse the caddy with hot water to remove loose debris
- Spray the inside and outside with disinfectant cleaner
- Scrub with an old toothbrush or narrow bottle brush
- Rinse well and let it air dry upside down
If the caddy has permanent brown staining, soak it in a bucket with the same disinfectant solution used for the brush. A paste of baking soda and water can also help remove stubborn mineral stains. Rinse thoroughly and dry completely before returning the brush.
Bleach vs Vinegar vs Hydrogen Peroxide
Different disinfectants work best in different situations. Bleach is the strongest and most reliable for killing bacteria and viruses, but it has a strong smell and can fade colored brush heads. Vinegar is a non toxic option that helps dissolve mineral deposits from hard water, though it is less effective as a disinfectant on its own. Hydrogen peroxide falls between the two, offering good odor control and antimicrobial power with fewer fumes.
- Bleach: Best for deep disinfection after illness; use 1/2 cup per gallon of water
- White vinegar: Best for limescale and mild cleaning; use 2 cups per gallon
- Hydrogen peroxide: Best for odor control and regular disinfecting; use 1/2 cup of 3% solution per gallon
Do not mix these products. If you use bleach one week and vinegar another week, rinse the bucket and brush thoroughly between sessions. Mixing bleach and acid creates toxic gas that can cause breathing problems.
How to Remove Hair and Debris from Toilet Brush Bristles
Hair, toilet paper fibers, and mineral scale can cling to the bristles even after soaking. Use a separate old toothbrush or a dedicated comb to gently work through the bristles after the soak. Start near the base and move toward the tips to lift out trapped debris. Rinse with hot water as you go.
For stubborn mineral buildup, soak the brush head in undiluted white vinegar for one hour. Then scrub with an old toothbrush and rinse. This method is especially useful in homes with hard water, where limescale can make bristles stiff and less effective.
Never use your hands to pick debris from a toilet brush. Wear gloves and use a tool to avoid cuts and contact with bacteria. If the bristles are too matted to clean, it is time to replace the brush.
How Often Should You Wash Your Toilet Brush?
The frequency depends on how many people use the bathroom and how often you clean the toilet. A quick hot water rinse after every use is the minimum. A full disinfecting soak should happen at least once every two weeks. In a busy family bathroom, weekly deep cleaning is better.
- After each use: Rinse with hot water and let the brush dry over the bowl
- Every two weeks: Soak in disinfectant and scrub the caddy
- Monthly: Inspect bristles for wear, cracks, or trapped debris
- After an illness: Deep clean immediately to prevent spread
If someone in your household has a stomach virus or other infection, wash the brush and holder right away. Use a stronger disinfectant solution and allow extra drying time. You may also want to replace the brush after a serious illness because some pathogens are hard to remove.
Most toilet brushes last between six and twelve months. A worn brush does not clean well and can scratch the toilet bowl surface. If the bristles look flattened, frayed, or stained, it is time for a replacement. For help picking a better model, read our article on choosing a hygienic toilet brush.
Mistakes to Avoid When Cleaning a Toilet Brush
Some habits can make toilet brush cleaning less effective or even unsafe. Avoid cleaning the brush in the kitchen sink, because that spreads waste bacteria to food contact surfaces. Do not place a wet brush back into a closed caddy, because trapped moisture creates ideal conditions for mold and odor.
- Storing the brush while it is still wet
- Using boiling water on plastic brushes
- Mixing bleach with vinegar or ammonia
- Letting dirty water stand in the caddy for weeks
- Keeping a brush past its useful life
Boiling water can warp plastic handles and loosen the glue that holds bristles in place. If you want to sanitize with heat, use hot tap water between 120 and 140 degrees Fahrenheit instead. Also, never share a toilet brush between multiple bathrooms without disinfecting it first, because that can transfer germs from one toilet to another.
Safety Tips for Washing a Toilet Brush
Washing a toilet brush is safe when you follow basic precautions. Always wear rubber or nitrile gloves. Work in a ventilated area, especially when using bleach. Keep cleaning buckets and tools separate from food storage and laundry areas.
- Wear gloves and wash your hands afterward
- Never mix cleaning chemicals
- Dump used disinfectant water into the toilet, not the bathtub or kitchen sink
- Store cleaning supplies out of reach of children and pets
- Use a dedicated bucket only for bathroom tools
If you have a septic system, use disinfectants in small amounts and avoid pouring large volumes of bleach into the tank regularly. A single gallon of diluted bleach is unlikely to cause major harm, but frequent use can affect beneficial bacteria. For septic safe routines, rinse with hot water more often and use a mild peroxide solution.
How to Store a Toilet Brush Safely
Proper storage goes hand in hand with washing. Choose a caddy with ventilation holes or an open back so air can circulate. Store the brush upright with the bristles suspended above any liquid in the drip tray. Keep the caddy away from towels, toothbrushes, and high traffic zones.
If your brush still smells musty after cleaning, the caddy may be holding hidden water or the brush may be too old. Silicone brushes tend to dry faster and resist buildup better than nylon. A ventilated caddy and a regular washing routine will solve most odor problems.
Frequently Asked Questions About Washing a Toilet Brush
Can I wash a toilet brush in the dishwasher?
It is not recommended. Dishwasher detergents and high heat can damage the handle, glue, and bristle fibers. The brush can also introduce waste bacteria into the dishwasher. Hand washing with disinfectant is safer and more effective.
Can I use bleach to wash a toilet brush?
Yes, a diluted bleach solution works well for white plastic or nylon brushes. Use 1/2 cup of bleach per gallon of water. Never mix bleach with vinegar, ammonia, or bowl cleaner because the fumes can be toxic.
How do I clean a silicone toilet brush?
Silicone brushes can be soaked in the same disinfectant solution as nylon brushes. They dry faster, but they can still hold bacteria in the base. Rinse with hot water and dry thoroughly after every use.
Why does my toilet brush smell even after cleaning?
Smell usually comes from trapped moisture or an old caddy. Clean the caddy and drip tray, then let both dry fully. If the odor remains, replace the brush.
How often should I replace my toilet brush?
Most brushes last six to twelve months with regular cleaning. Replace sooner if bristles bend, fall out, or have a permanent odor.
What is the best homemade cleaner for a toilet brush?
A solution of 1/2 cup of 3% hydrogen peroxide per gallon of hot water works well for regular use. For hard water mineral buildup, soak the brush head in undiluted white vinegar for one hour. Rinse and dry completely after soaking.
Conclusion
A clean toilet brush is a simple way to keep your bathroom more hygienic. Start with a hot water rinse after every use, then follow a full disinfecting soak every two weeks. Dry the brush and caddy completely before you put them away. These small steps reduce odors, prevent bacterial growth, and make each bathroom cleaning more effective.
Replace your brush when it looks worn, and choose a caddy that promotes airflow. If you want to upgrade, a hygienic or silicone design may save you time on future cleaning. With a few minutes of care, you can keep one of the dirtiest tools in your bathroom from becoming a hidden problem.