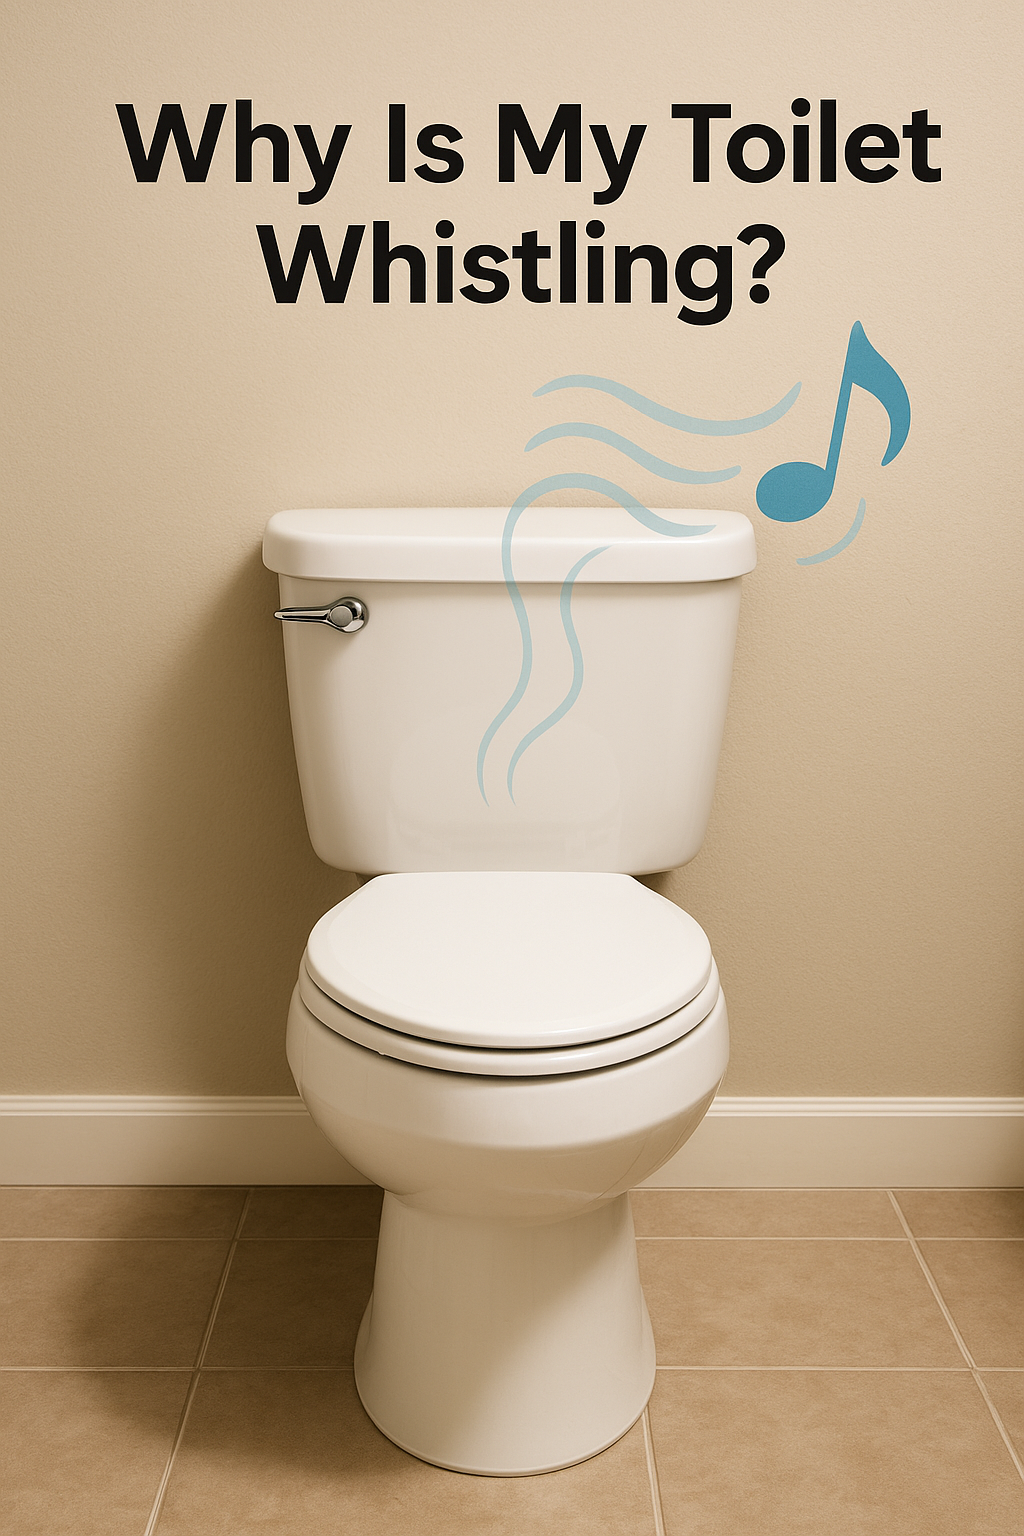
Why Is My Toilet Whistling? A DIY Guide to Silence the Noise for Good
You hear it after a flush, a high-pitched squeal that sounds like a tiny tea kettle boiling in your bathroom. Or maybe it’s a constant, ghostly hum that makes you wonder if your plumbing is haunted. A whistling toilet is a strange and surprisingly common issue. While it might seem alarming, it’s rarely a sign of a major plumbing catastrophe. In fact, it’s your toilet’s way of telling you that a specific, inexpensive part is wearing out. And the best part? You can almost certainly fix it yourself.
Why Trust ToiletTricks.com?
- Real-World Experience: This guide is built on years of hands-on home repair. We’ve diagnosed and silenced whistling toilets using these exact methods, transforming annoying noises into satisfying silence.
- Expert-Vetted Information: We consult with certified plumbers to ensure our advice is accurate, safe, and aligned with professional best practices. We translate their expertise into easy steps for you.
- A Focus on Empowerment: Our mission is to demystify plumbing problems. We believe that with clear instructions and a little confidence, any homeowner can tackle common issues like a whistling toilet, saving hundreds of dollars.
- Honest Recommendations: The products we feature are chosen for their proven reliability, ease of installation, and stellar reviews from thousands of homeowners just like you.
The Science of the Squeal: Why Your Toilet Sings
To fix the whistle, it helps to understand what’s causing it. The sound is a result of basic physics, specifically fluid dynamics. Think about how a flute or a whistle works: you force air through a small, precise opening, which causes the air to vibrate and create a musical note. Your toilet is doing the exact same thing, but with water.
When a component inside your toilet’s tank wears out, it can create a tiny, unnatural opening. As the high-pressure water from your supply line is forced through this small tear or restriction, it vibrates rapidly. These vibrations travel through the water and the toilet’s components, and you hear it as a high-pitched whistle, hum, or squeal. The culprit is almost always one part: the fill valve.
A whistling toilet is essentially a water-powered instrument you didn’t ask for. The “musician” is a worn-out rubber seal or gasket inside the fill valve, and the “music” is the sound of your water bill slowly increasing.
The Prime Suspect: An Old or Failing Toilet Fill Valve
The fill valve (historically called a “ballcock”) is the tall assembly inside your toilet tank that refills the tank after each flush. It’s a workhorse, operating under pressure multiple times a day. Over time, its internal seals and diaphragms, which are often made of rubber, break down due to age, hard water mineral deposits, and chlorine in the water. When these seals wear out, they no longer fit perfectly, creating the small gap that causes the whistling sound.
Two Types of Fill Valves, One Common Problem:
- Old Metal Ballcock Valves: If you lift your tank lid and see a metal arm with a large plastic ball on the end, you have an old-style ballcock. These are notorious for whistling as they age. They are inefficient and prone to failure. If you have one of these, we don’t recommend trying to repair it; the best course of action is a full replacement with a modern kit.
- Modern Float-Cup Valves: These are the standard in all new toilets. They are typically made of plastic and have a “cup” that floats up and down the main shaft of the valve. While far more reliable, the small rubber diaphragm seal inside the cap of these valves can still wear out or get clogged with sediment, causing a whistle.
Tools You’ll Need for the Job
This is a simple project. You likely have everything you need already.
- An old towel and a sponge
- A flathead screwdriver
- Adjustable pliers (channel locks)
- Scissors or small wire cutters
- A cup or small container (for holding small parts)
How to Diagnose and Fix Your Whistling Toilet: A Step-by-Step Guide
Let’s walk through the process, starting with the easiest potential fixes and moving to the definitive solution.
Step 1: Check the Water Supply Valve
Before you even open the tank, check the water valve on the wall behind your toilet. This is the oval-shaped knob that controls the water flow to the toilet. Sometimes, this valve can be partially closed, which restricts water flow and can cause a whistling sound. Turn the valve counter-clockwise (lefty-loosey) as far as it will go to ensure it is fully open. If the whistling stops, you’ve just found the easiest fix in home repair history!
Step 2: The “No-Cost” Fix – Clean the Fill Valve Gasket
If the supply valve was fully open, the next step is to clean the internal parts of your fill valve. A tiny piece of sediment or a worn gasket is often the culprit. This process takes about 15 minutes.
- Turn Off the Water. Turn the water supply valve behind the toilet clockwise (righty-tighty) until it stops. Flush the toilet to drain the tank.
- Open the Fill Valve Cap. Look at the top of your fill valve. Most modern float-cup valves have a cap that can be removed. You may need to push down and turn it counter-clockwise about a quarter-turn, similar to a child-proof cap.
- Carefully Remove Parts. Once the cap is loose, lift it off. You will see a rubber seal or diaphragm underneath. Carefully remove it, paying close attention to how it’s oriented so you can put it back correctly.
- Inspect and Clean. Hold the rubber seal up to the light. Look for signs of warping, tearing, or stretching. Rinse it thoroughly under a sink faucet to remove any mineral deposits or debris. Use your fingers to gently rub off any buildup.
- Flush Out the Valve. This is a key step. Take a cup, place it upside down over the open top of the fill valve to prevent splashing. Briefly turn the water supply valve on and off for a few seconds. This will shoot a high-pressure burst of water through the valve body, clearing out any hidden sediment.
- Reassemble and Test. Carefully place the cleaned rubber seal back into the cap exactly as it was. Secure the cap back onto the fill valve. Slowly turn the water supply back on. If the whistle is gone, congratulations! You’ve fixed it for free.
Step 3: The Guaranteed Fix – Replace the Entire Fill Valve
If cleaning the gasket didn’t silence the whistle, it means the rubber has degraded beyond repair, or there’s an internal issue within the valve body. At this point, the best, fastest, and most reliable solution is to replace the entire fill valve unit. It’s an inexpensive part and modern kits make it a surprisingly easy DIY job.
- Buy a Universal Replacement Kit. You don’t need to know your toilet’s brand or model. A universal kit, like the one we recommend below, is designed to fit the vast majority of toilets in the United States.
- Turn Off Water and Empty the Tank. Turn off the water supply valve. Flush the toilet and hold the handle down to drain as much water as possible. Use a sponge to mop up the last bit of water from the bottom of the tank.
- Disconnect Everything. Place a towel on the floor to catch any drips. First, unscrew the water supply line connector from the bottom of the old fill valve (underneath the tank). Next, unscrew the large plastic locknut that holds the fill valve assembly to the tank.
- Remove the Old Valve. With the nuts disconnected, the old fill valve assembly will lift straight out of the tank.
- Install the New Valve. Follow the instructions included with your new kit. Generally, you will insert the new fill valve into the hole, ensure the rubber gasket is properly seated inside the tank, and then hand-tighten the new locknut on the underside. Reconnect the water supply line, also hand-tightening.
- Set Height and Connect Refill Tube. Adjust the height of the new fill valve according to the instructions (usually so the top is 3″ above the overflow tube). Attach the new, flexible refill tube to the valve’s port and clip the other end onto the top of the overflow tube.
- Power Up and Test. Slowly turn the water supply valve back on. The tank will fill. Check for any leaks around the connections underneath the tank. The whistle will be gone, replaced by the quiet, efficient sound of a modern fill valve.
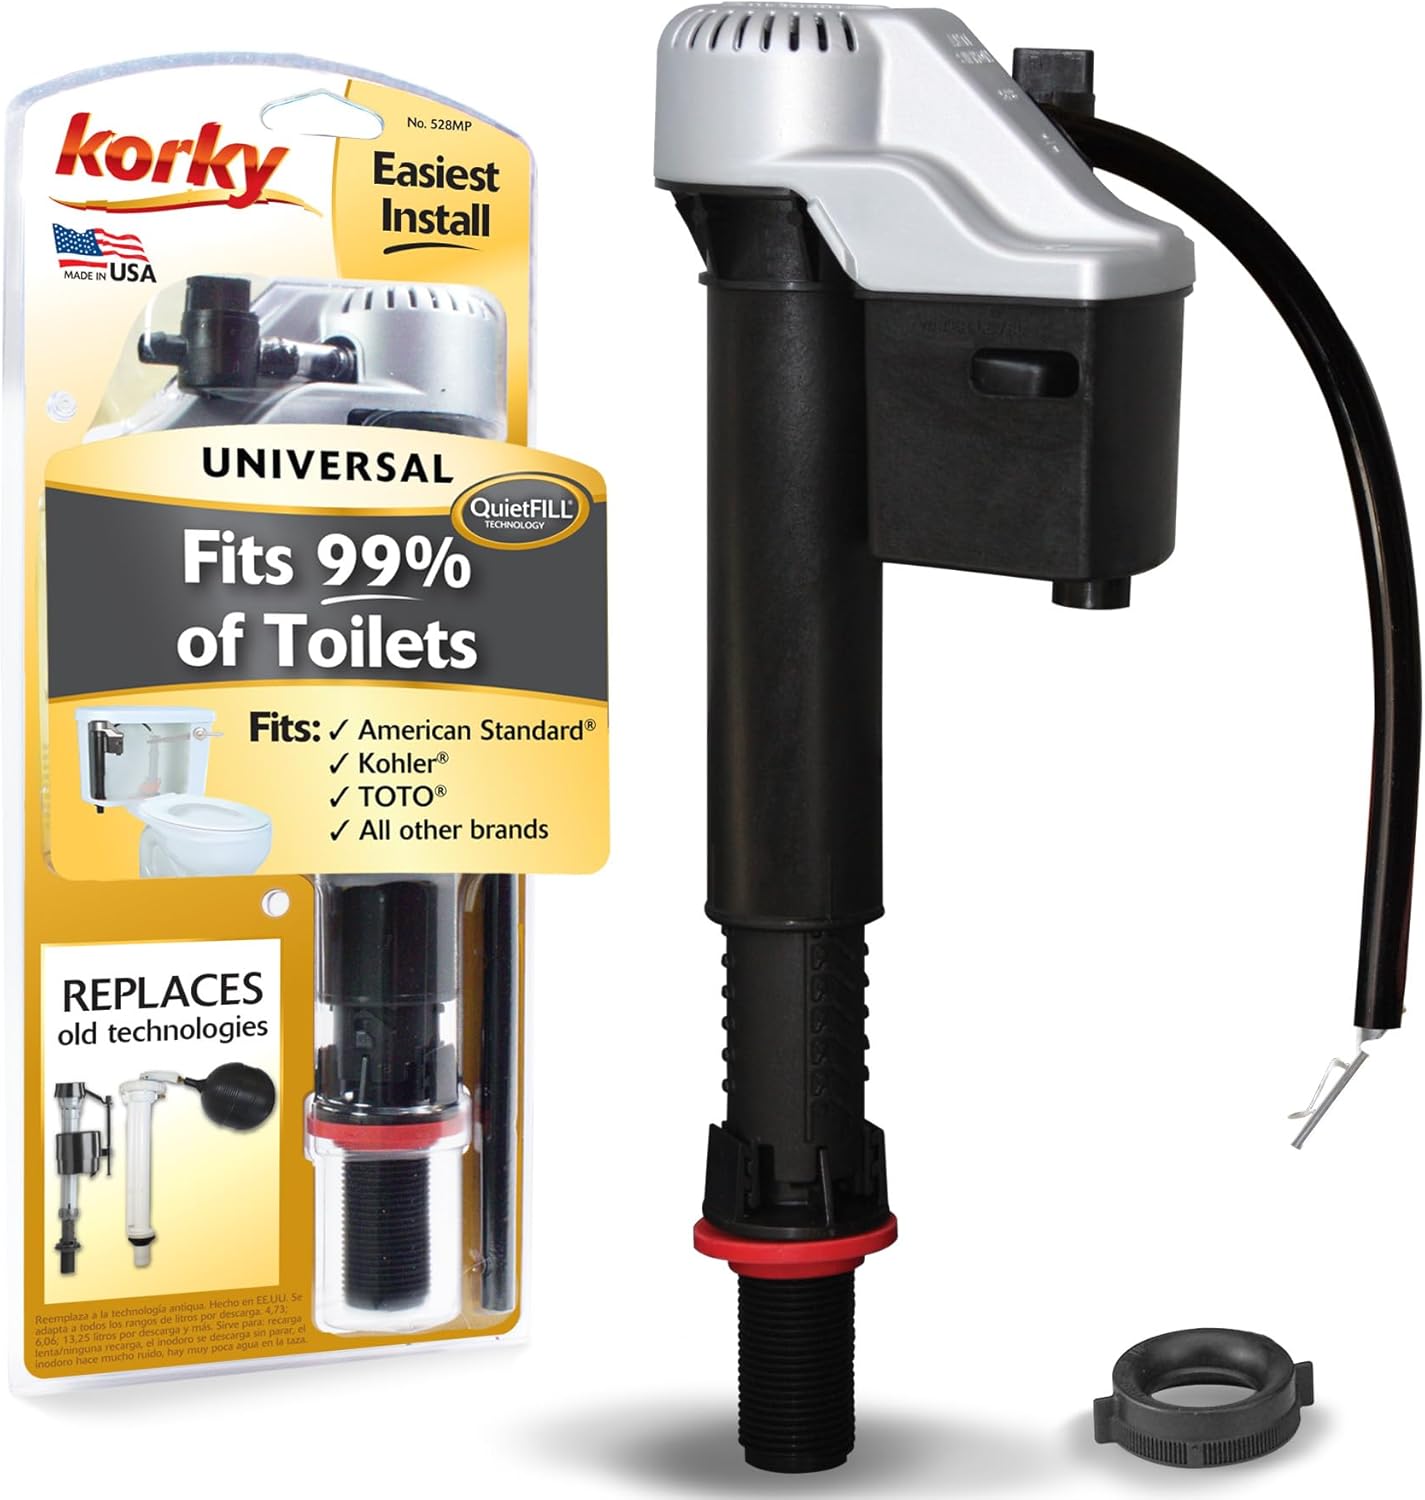
Our Top Recommendation: Korky QuietFILL Platinum Fill Valve
Best for a Silent & Reliable Fix
Check Price on AmazonThe Korky QuietFILL Platinum is our top choice for silencing a whistling toilet for good. As its name implies, it’s engineered for extremely quiet operation. It’s a universal fit for nearly all toilets and is incredibly easy to install, with no need to cut or bend anything. Made in the USA from chlorine-resistant materials, it’s more durable than many manufacturer-installed parts. This kit contains everything you need to replace your old, noisy valve and restore peace to your bathroom.
Considering a Full Toilet Upgrade?
If your whistling toilet is old, inefficient, and requires frequent repairs, it might be time to consider a replacement. Modern toilets are far more water-efficient and offer superior flushing performance. If you’re exploring this option, be sure to check out our expert comparisons to help you decide between leading brands, such as our breakdown of Gerber vs. Kohler or our in-depth analysis of Kohler vs. American Standard.
Frequently Asked Questions (FAQ)
Is a whistling toilet dangerous or can it cause a flood?
A whistling toilet itself is not dangerous. It’s a sign of a failing component, but it’s not an emergency. However, a failing fill valve can eventually stop shutting off altogether, which would cause the toilet to run continuously. Thanks to the overflow tube, this won’t cause a flood, but it will waste a massive amount of water. So, while it’s not an immediate danger, it’s definitely a problem you should fix sooner rather than later.
Why does my toilet only whistle sometimes, or only at night?
This is often due to fluctuations in your home’s water pressure. Municipal water pressure is often highest late at night when community-wide water usage is low. This higher pressure can be just enough to cause a borderline-faulty valve to start vibrating and whistling. The intermittent nature is a clear sign that the valve’s internal seal is on its last legs.
What’s the difference between a whistling, gurgling, or hissing sound?
Good question! The sounds your toilet makes can tell you a lot.
- Whistling/Squealing: Almost always the fill valve as water is forced through a small opening.
- Hissing: A faint hiss after the tank is full is often the sound of water trickling over the top of the overflow tube (a fill valve problem) or leaking past a bad flapper.
- Gurgling: This sound, especially when it happens randomly or when you use other drains, can indicate a problem with your drain lines or vent stack, which is a more serious issue that may require a plumber.
Conclusion: Enjoy the Sound of Silence
A whistling toilet is one of those nagging home maintenance issues that’s easy to put off, but the constant noise is a reminder that something isn’t right. Now you know that this strange sound is simply the vibration of water moving past a worn-out seal in your fill valve. By following the steps above, you can confidently diagnose the issue, attempt a simple cleaning, or move straight to a full replacement.
For less than $20 and about 30 minutes of your time, you can install a modern, quiet fill valve that not only silences the whistle for good but also improves your toilet’s overall efficiency. This is a high-reward DIY project that saves you a plumbing bill and gives you the satisfaction of having fixed it yourself. Go ahead, tackle that whistle and enjoy the well-deserved peace and quiet.